Remote sensing using a camera in OrbiX
In order to take a photo using the spacecraft constructor, there are three ways:
- Via the Houston Application;
- Via the Houston Telnet Client;
- Using a program on the WEB interface.
Creating a photo using the Houston Application
1) Connect the VHF to the computer;
2) Open Houston Application and Houston Server;
3) Select the Raspberry Pi section F in the Houston Application and enter the parameters (Figure 1):
- id: 10
- arg: 0

Picture 1. Getting a photo through the Houston Application_
4) Click on the To Server button and go to the Web interface
5) Refresh the page and scroll down to view the photos taken by the camera (Figure 2):
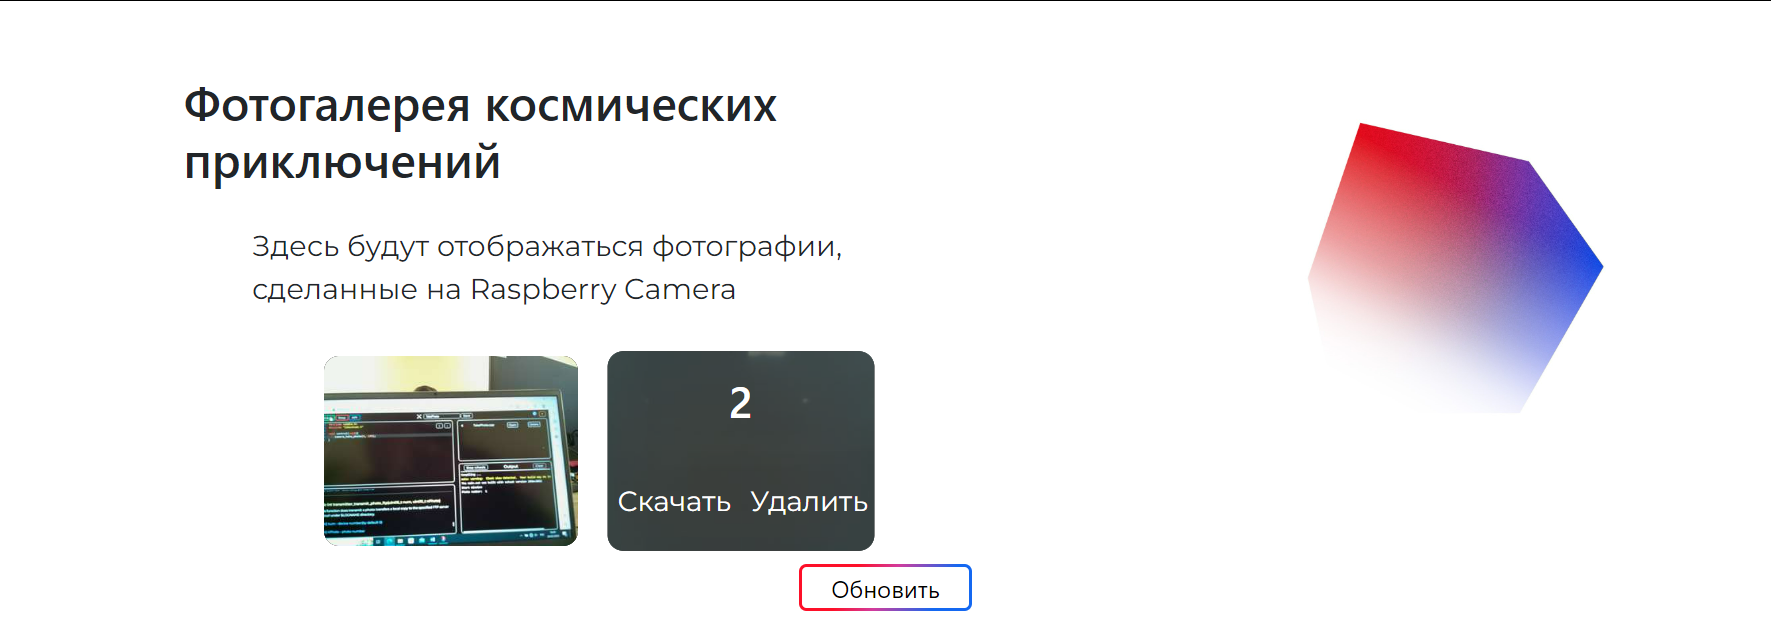
Picture 2. Viewing the received photos in the Web interface_
Creating a photo using the Houston Telnet Client program
To take a photo through the Houston Telnet Client:
1) Connect the terrestrial VHF to the computer, run the Houston Telnet Client, Houston Application, Houston Server. Set up a VHF connection, or start the Houston Server with a direct connection. Make sure that the status bar of the main window displays Server: connected. If not, check the Telnet port parameter in the Settings settings and the connection to the Houston Server.
2) First, check if there are snapshots in the Raspberry memory. To do this, click on the List Photos button (Figure 3):
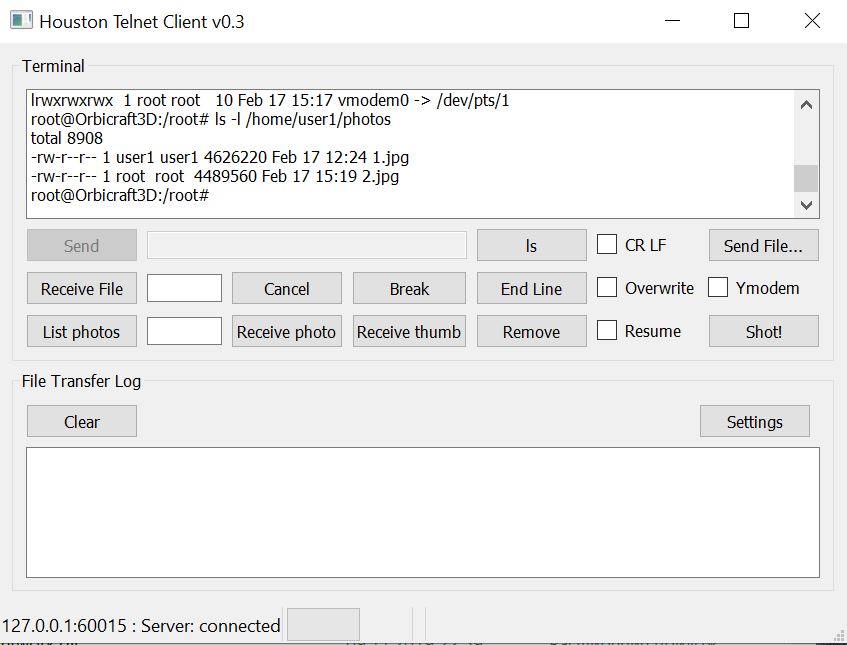
Picture 3. Information about photos saved on Raspberry_
As you can see in the picture, there are two snapshots in the Raspberry memory with names 1 and 2.
There should be no photos with the same name in the Telnet folder! If there are photos with the same name, then put a check mark on Overwrite in Telnet.
3) To take a photo, click on the Shot button! and you will receive a notification that a photo has been taken with the following serial number. In this example, a photo was taken with the number 3 (Figure 4):

Picture 4. Creating a new photo_
For information on how to transfer a photo to a computer using VHF, read the section Transferring photos from Raspberry Pi over VHF
Creating a photo using programming in the WEB interface
1) Launch the Web interface;
2) Write the following program code:
#include <stdio.h>
void control(void)
{
camera_take_photo(0);
Sleep(3);
camera_take_photo(1);
Sleep(3);
camera_take_photo(2);
}
Or download the program Photo_test.c from the list of programs in the Web interface.