Installation and balancing
Installing OrbiCraft 3D on a semi-natural modeling stand
Install OrbiCraft 3D on the stand with the solar sensors facing up. The light side of OrbiCraft 3D should be where there are 2 loads on the platform, and the heavy side where there is one load (Picture 1):

Picture 1. Installing OrbiCraft 3D on the stand
Secure OrbiCraft 3D
Balancing OrbiCraft 3D
Balancing is shown in the video:
Connect to the OrbiCraft 3D Wi-Fi network
Operation mode Houston App via Wi-Fi is used for engineering testing of missions at the semi-natural simulation stand, it is possible to receive all data packets and plot time changes in the values of the ARC, magnetometer, solar sensors, as well as the speed of rotation of the flywheel.
After downloading the onboard Raspberry Pi and the access point of the OrbiCraft 3D view constructor Orbicraft3D_###, connect the computer to this access point and launch the Houston App (Picture 2):
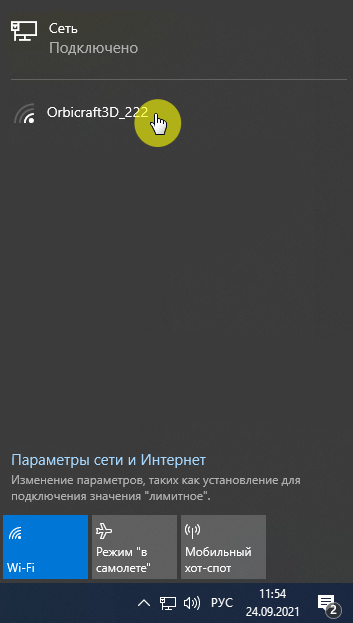
Picture 2. Network selection
Connect to the Orbicraft 3D network (Picture 3):
![Connecting wirelessly to OrbiCraft 3D(1)]
![Connecting wirelessly to OrbiCraft 3D(2)]
Picture 3. Connecting wirelessly to OrbiCraft 3D
The selected Wi-Fi network will be marked "Connection is limited" or "No Internet access". This is normal, since the Wi-Fi network that the OrbiCraft 3D designer creates is really not designed to access the Internet, but is needed to control the designer.