01 Lesson. Software installation and the first program
Writing and running the takePhoto program
In this section, we will learn how to write a simple program and run it.
This algorithm of actions will be relevant in the future when performing more complex tasks on the OrbiCraft 3D constructor.
To work with OrbiCraft 3D, write and run programs, you must
- Turn on the SEP using the power toggle switch. The green power indicator should light up.
- Wait 1-2 minutes, then check the Wi-Fi network environment. The designer's network should appear there as an access point. By default, the network name is Orbicraft3D. Connect to the network. Wait 30 seconds.
Wi-Fi network password: ORBICRAFT3D
The selected Wi-Fi network will be marked "Connection is limited" or "No Internet access". This is normal, since the Wi-Fi network that the OrbiCraft 3D designer creates is really not designed to access the Internet, but is needed to control the designer._
- Log in to the browser. Enter the address in the address bar 192.168.42.1 .
Working with the WEB interface
You are on the start page of OrbiCraft 3D (Picture 1).
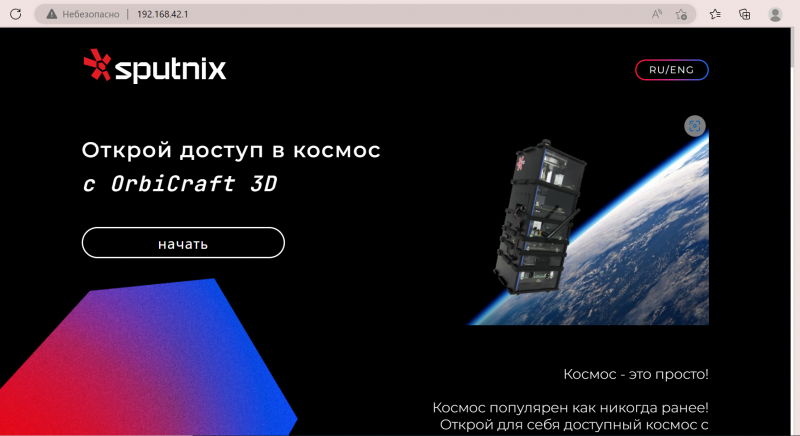
Picture 1. The start page of the Web interface
Before you start working, you need to log in (register) on the site. To do this, click the "Start" button. After that, the login (registration) window (Picture 2) will light up, enter your data into it.
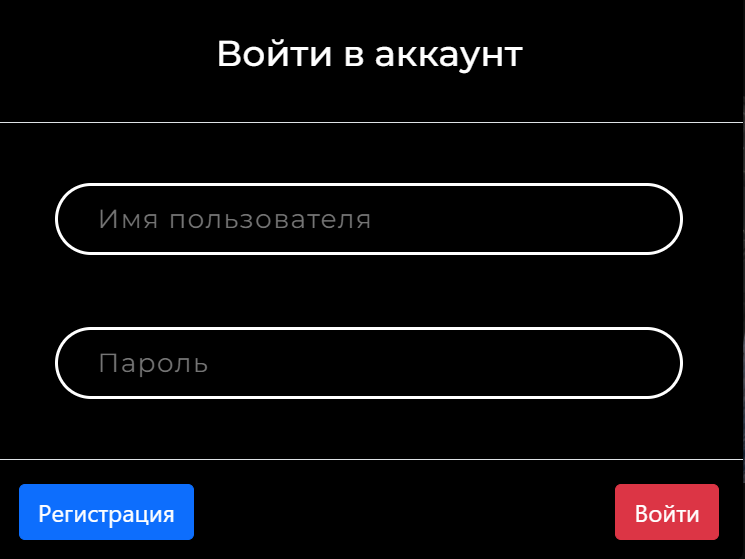
Picture 2. The login (registration) window
A window will open for you to create and run programs (Picture 3).
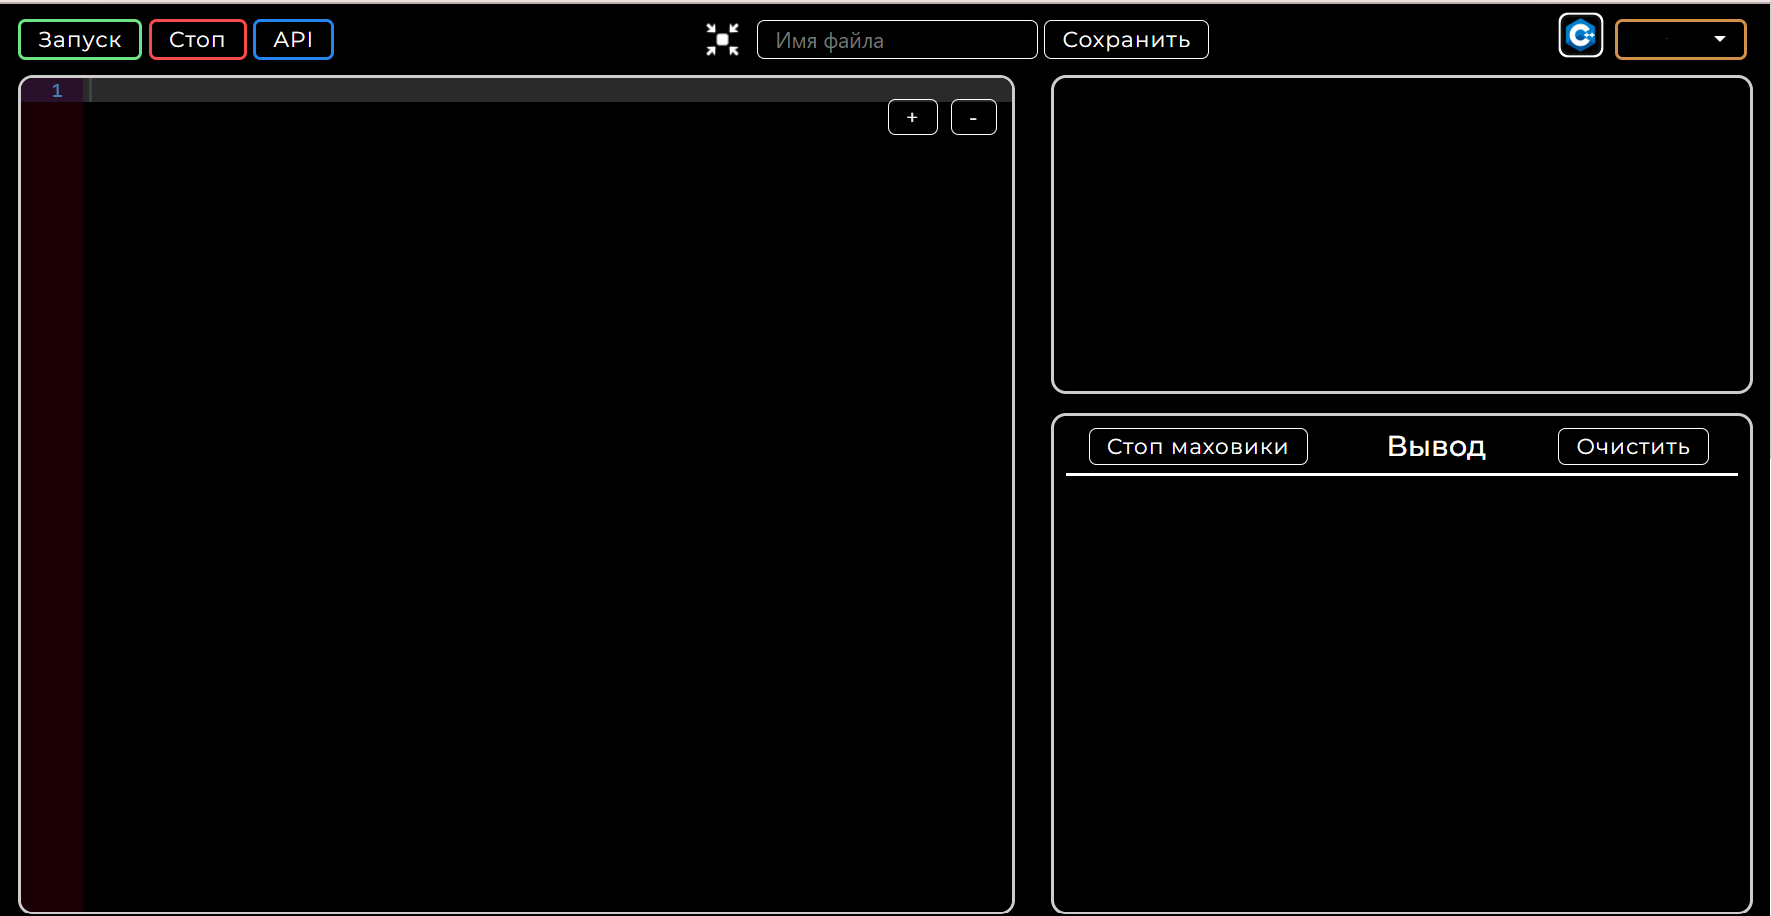
Picture 3. Window for creating and running programs
Writing a program
As the first test, we will write a program for creating photos using OrbiCraft 3D in C++. To switch between programming languages, click on the icon in the upper right corner (Picture 4).
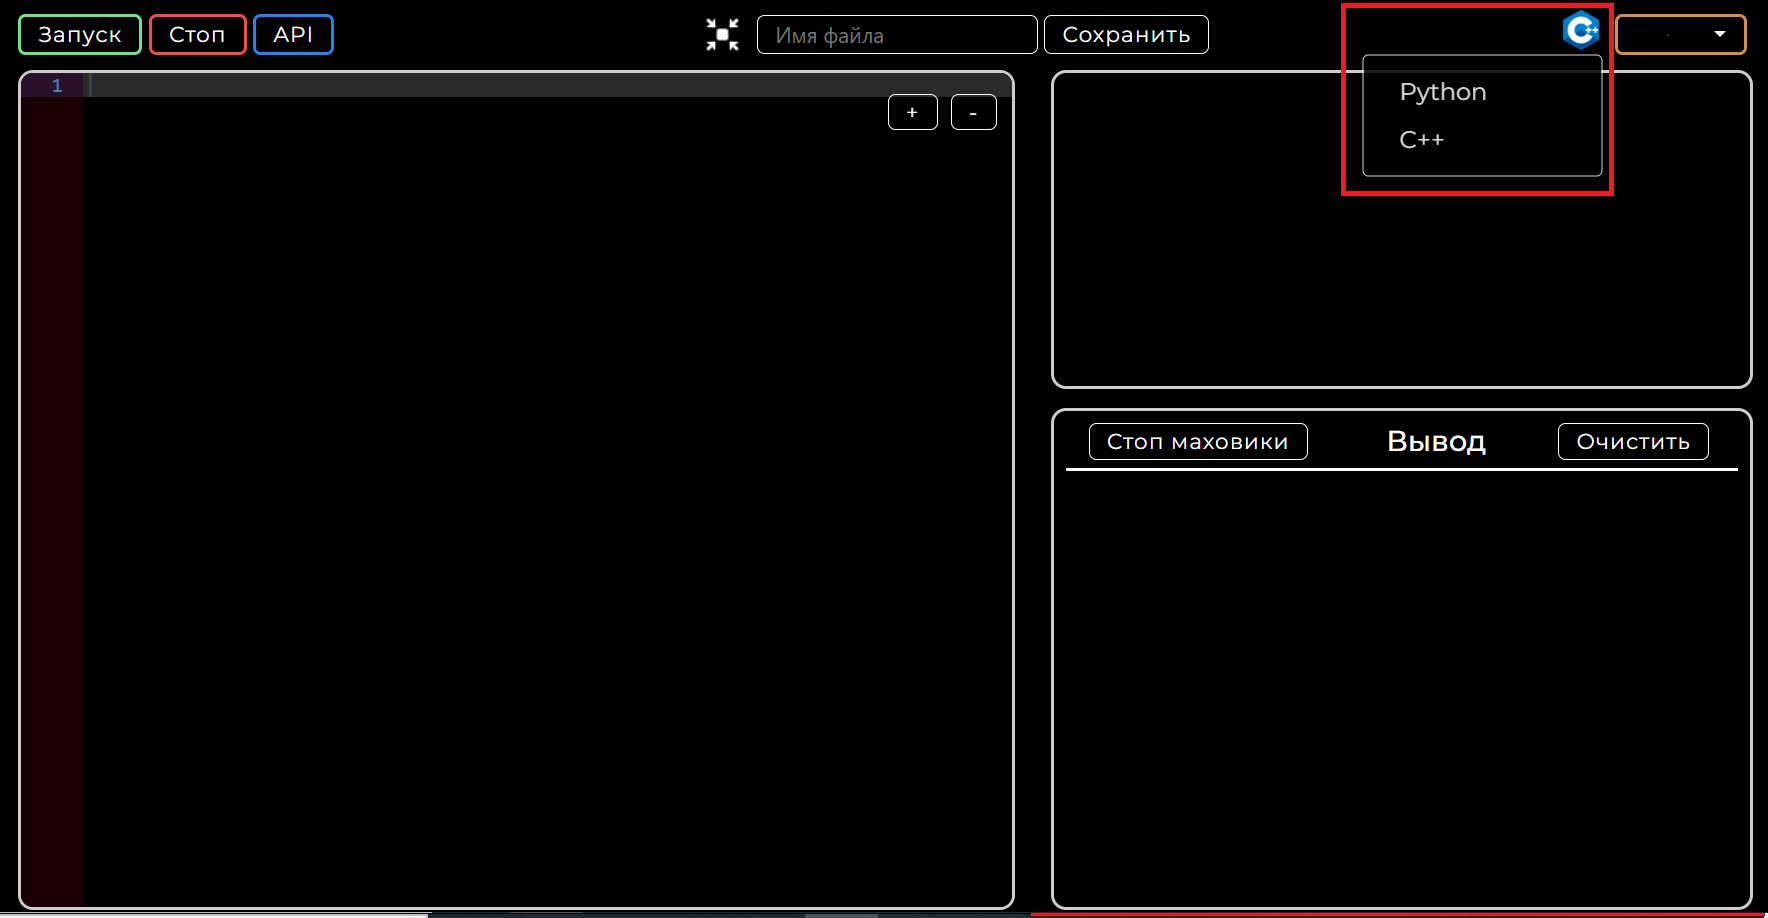
Picture 4. Changing the programming language
You can copy the program itself from the field below and paste it on the left into the code field (Picture 5).
#include <stdio.h>
#include "libschsat.h"

void control(void){
camera_take_photo(0,180);
}
The value 180 in the camera_take_photo line(0.180); is necessary for the orientation of your camera. You can read more about this in the API section.
If you have Radxa instead of RaspberryPi in the OBC module, use cpp camera_take_photo(0, 0, 0, 0, 0); to take a photo.
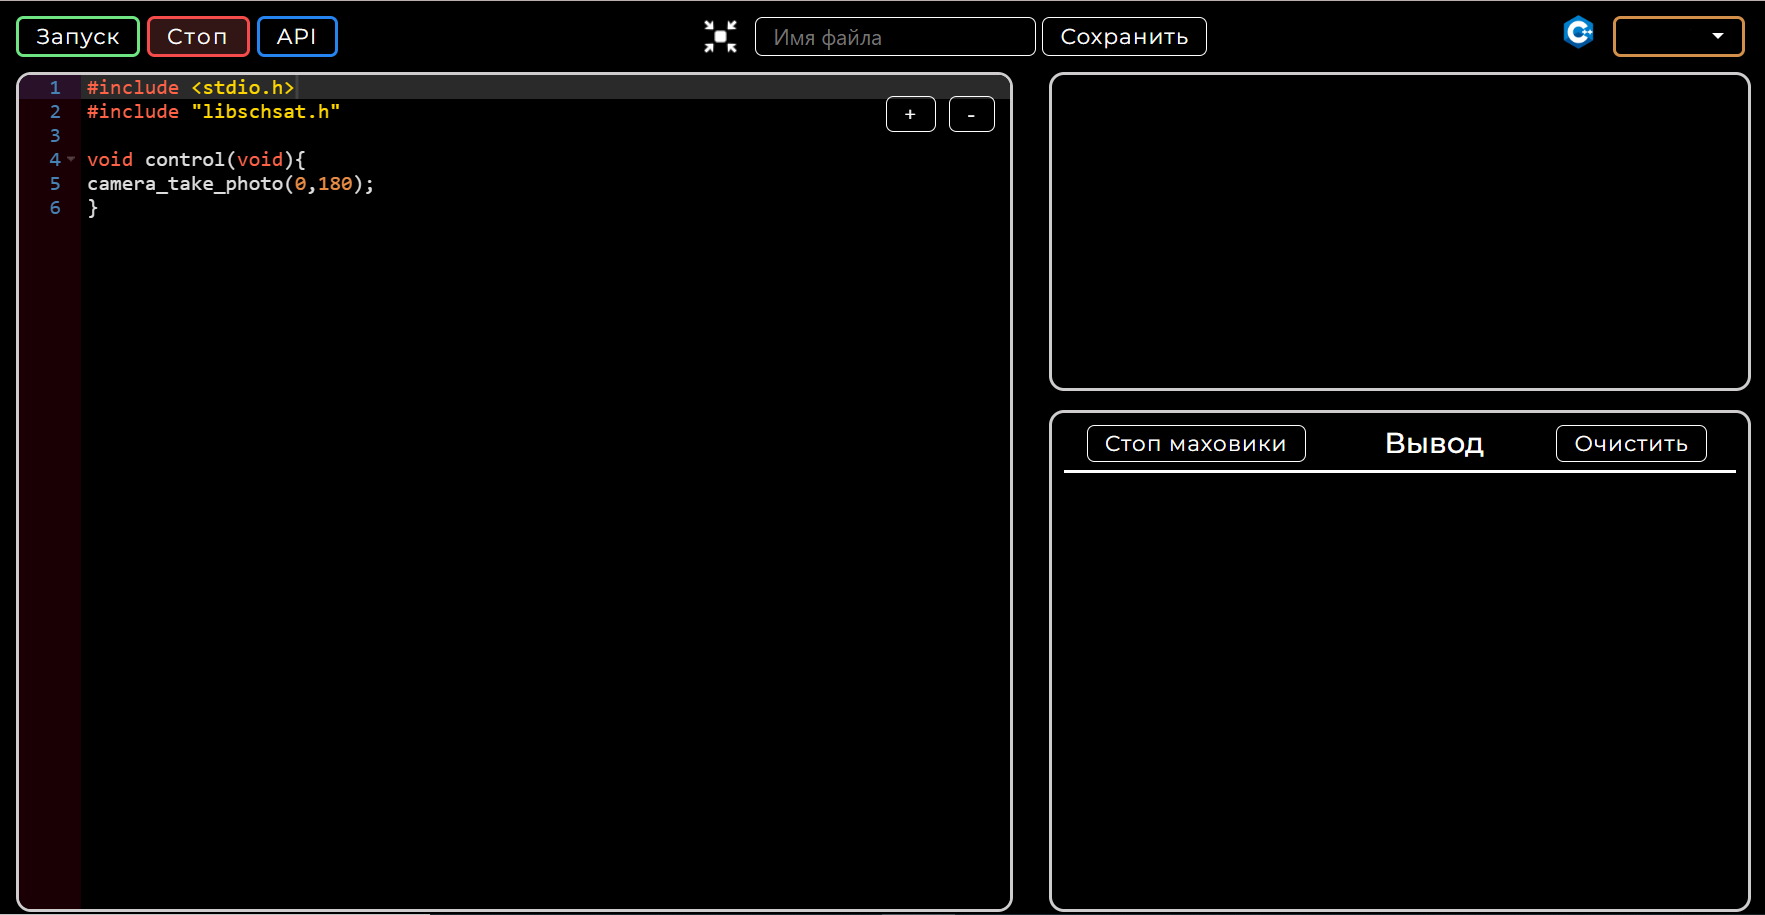
Picture 5. The takePhoto program code
To save the finished program in the "File Name" window, which is located at the top, enter its name (for example, "takePhoto") and click "Save" (Picture 6).
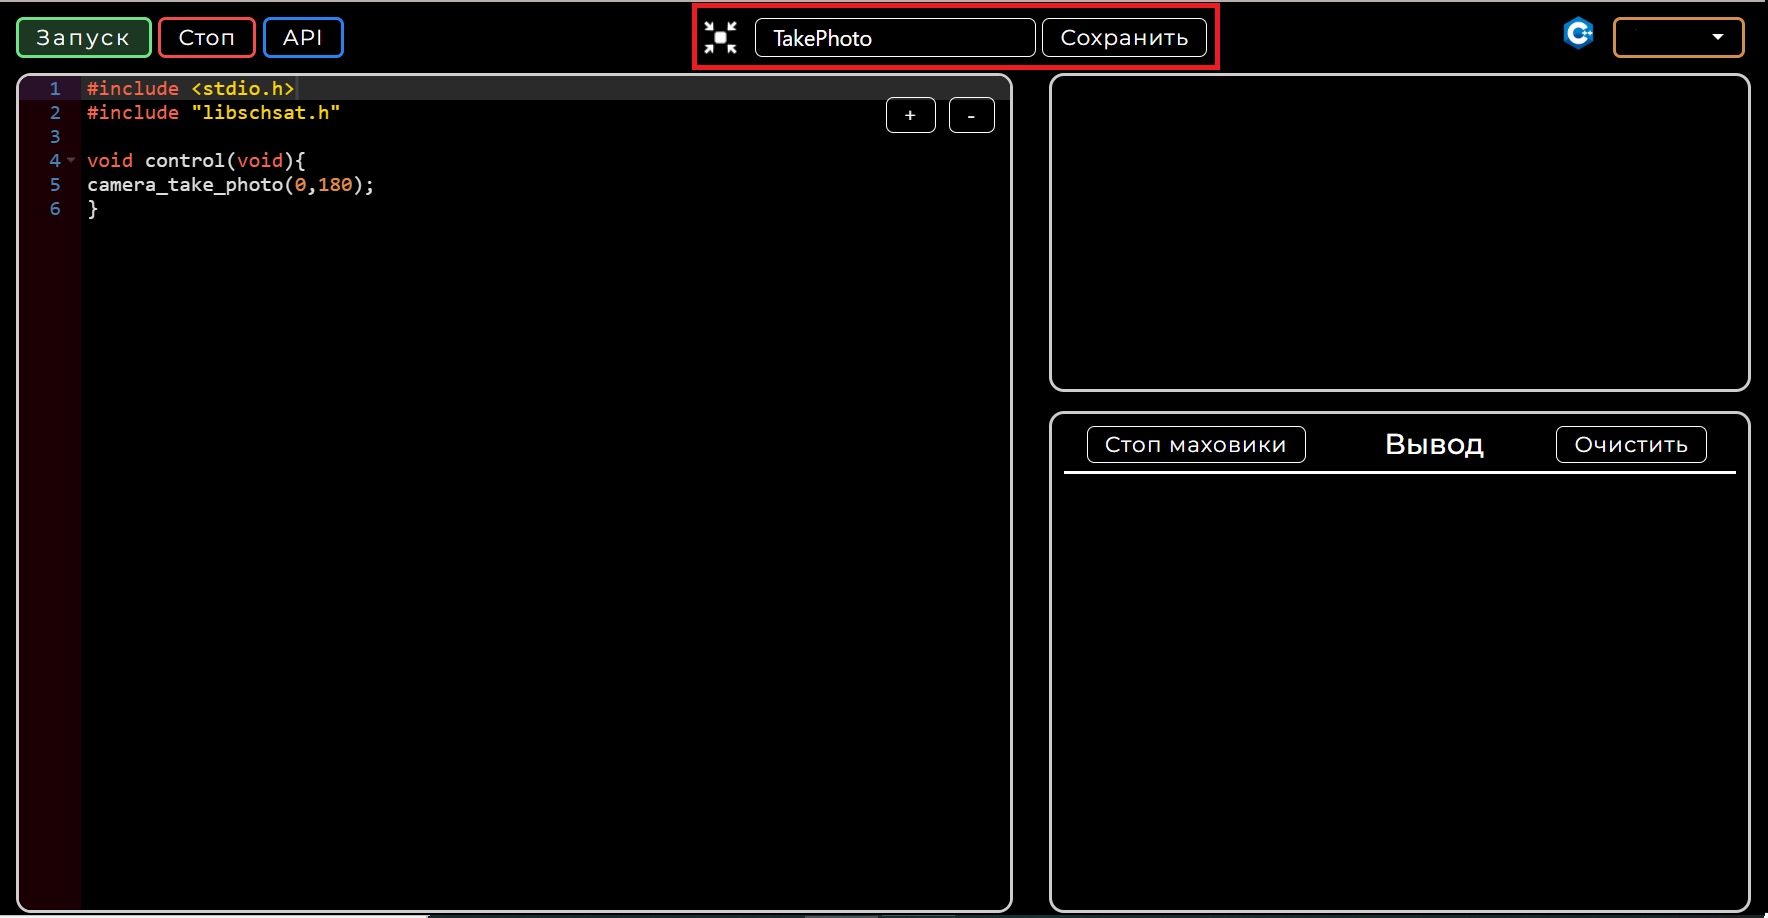
Picture 6. Program save window
Your saved program (Picture 7) will appear in the upper right window for further use.
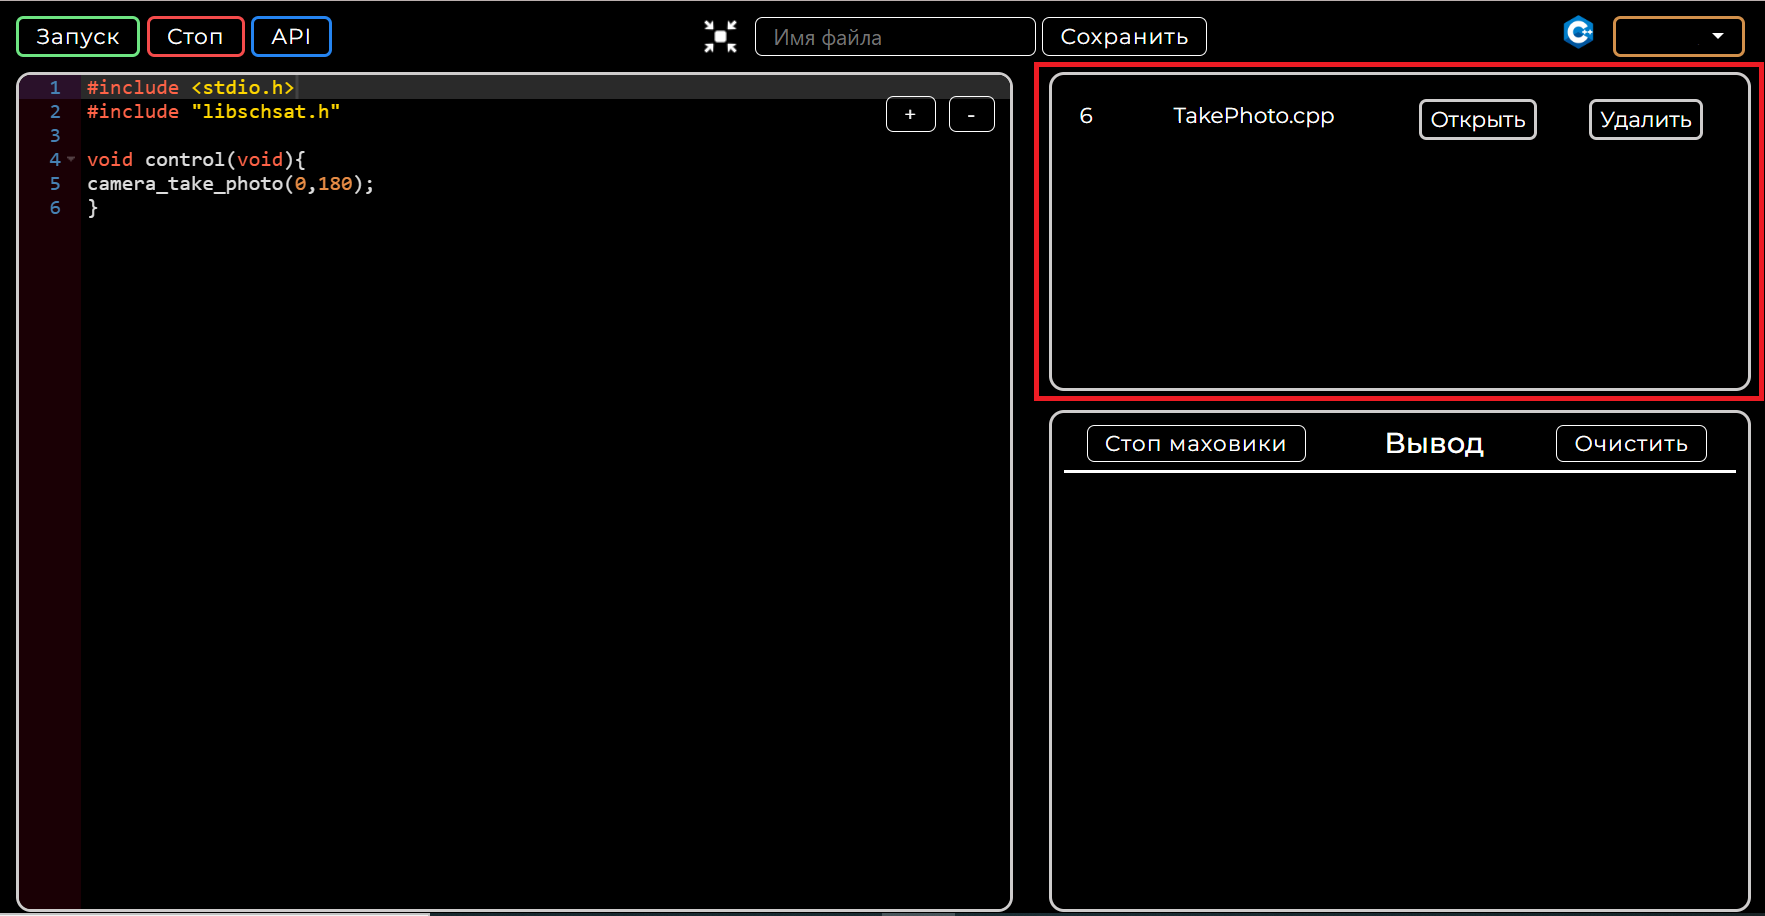
Picture 7. Saved programs
Launching the program
To launch the program, click the "Launch" button, which is located in the upper left corner (Picture 8). The "Stop" button is used to stop the program. The "API" button contains information about possible OrbiCraft 3D functions and how to set them.
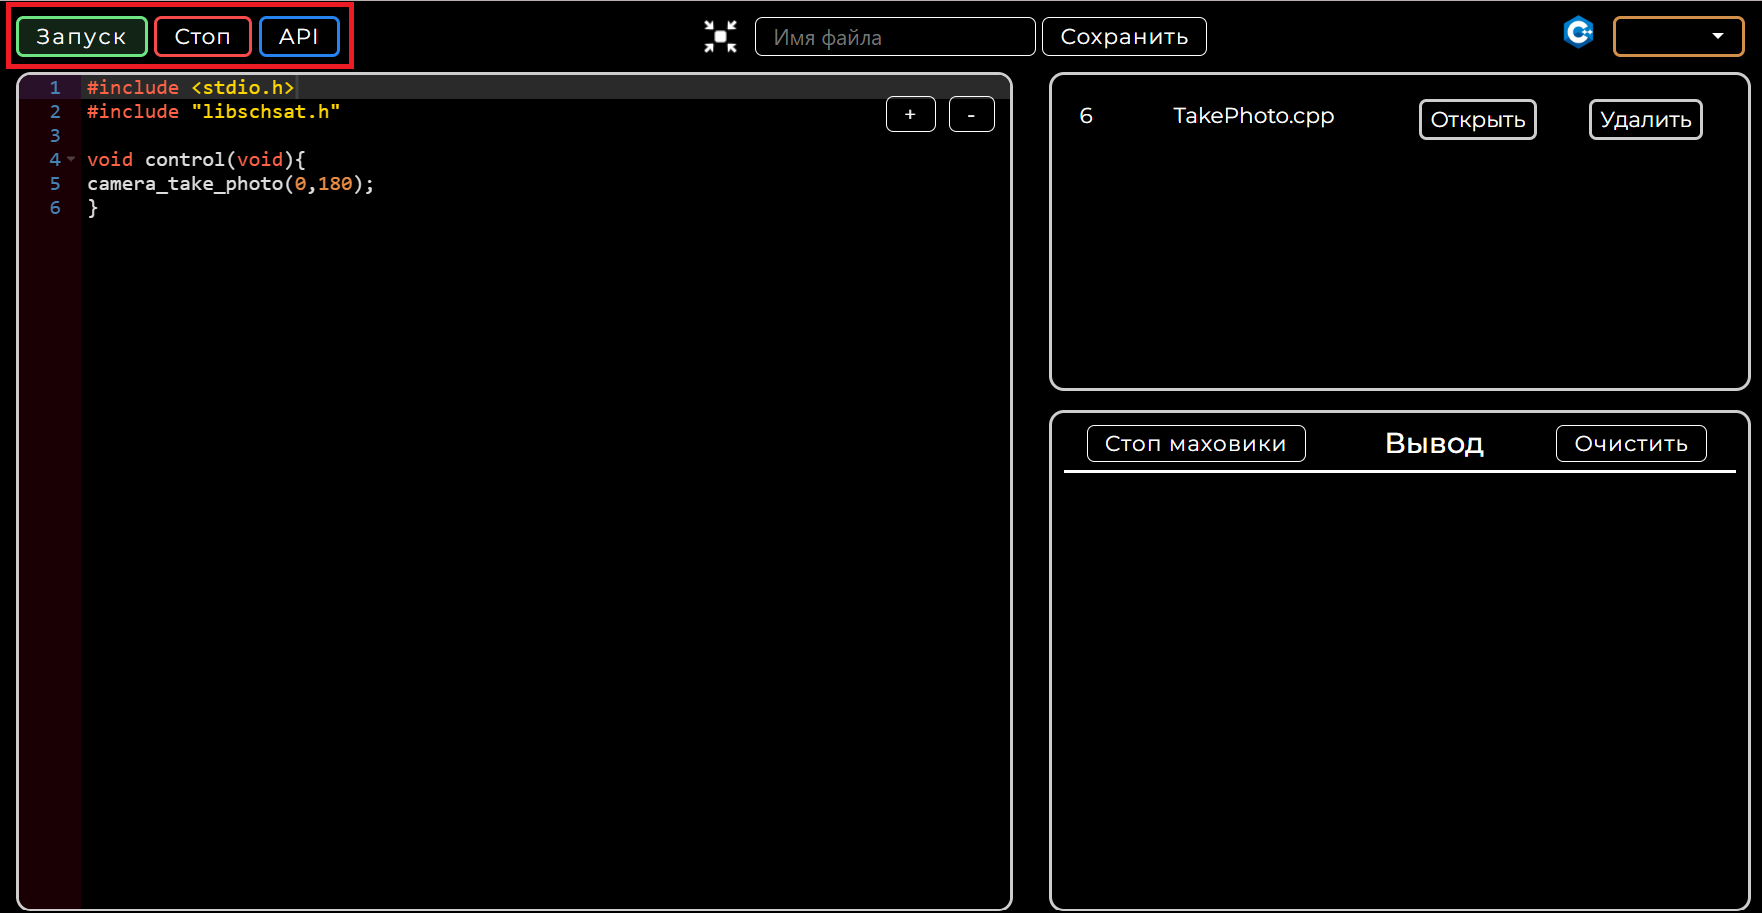
Picture 8. Starting and stopping the program
After you click the "Launch" button on the bottom right in the window "Output" you will see the program execution process, as well as the number of the received photo (Picture 9).
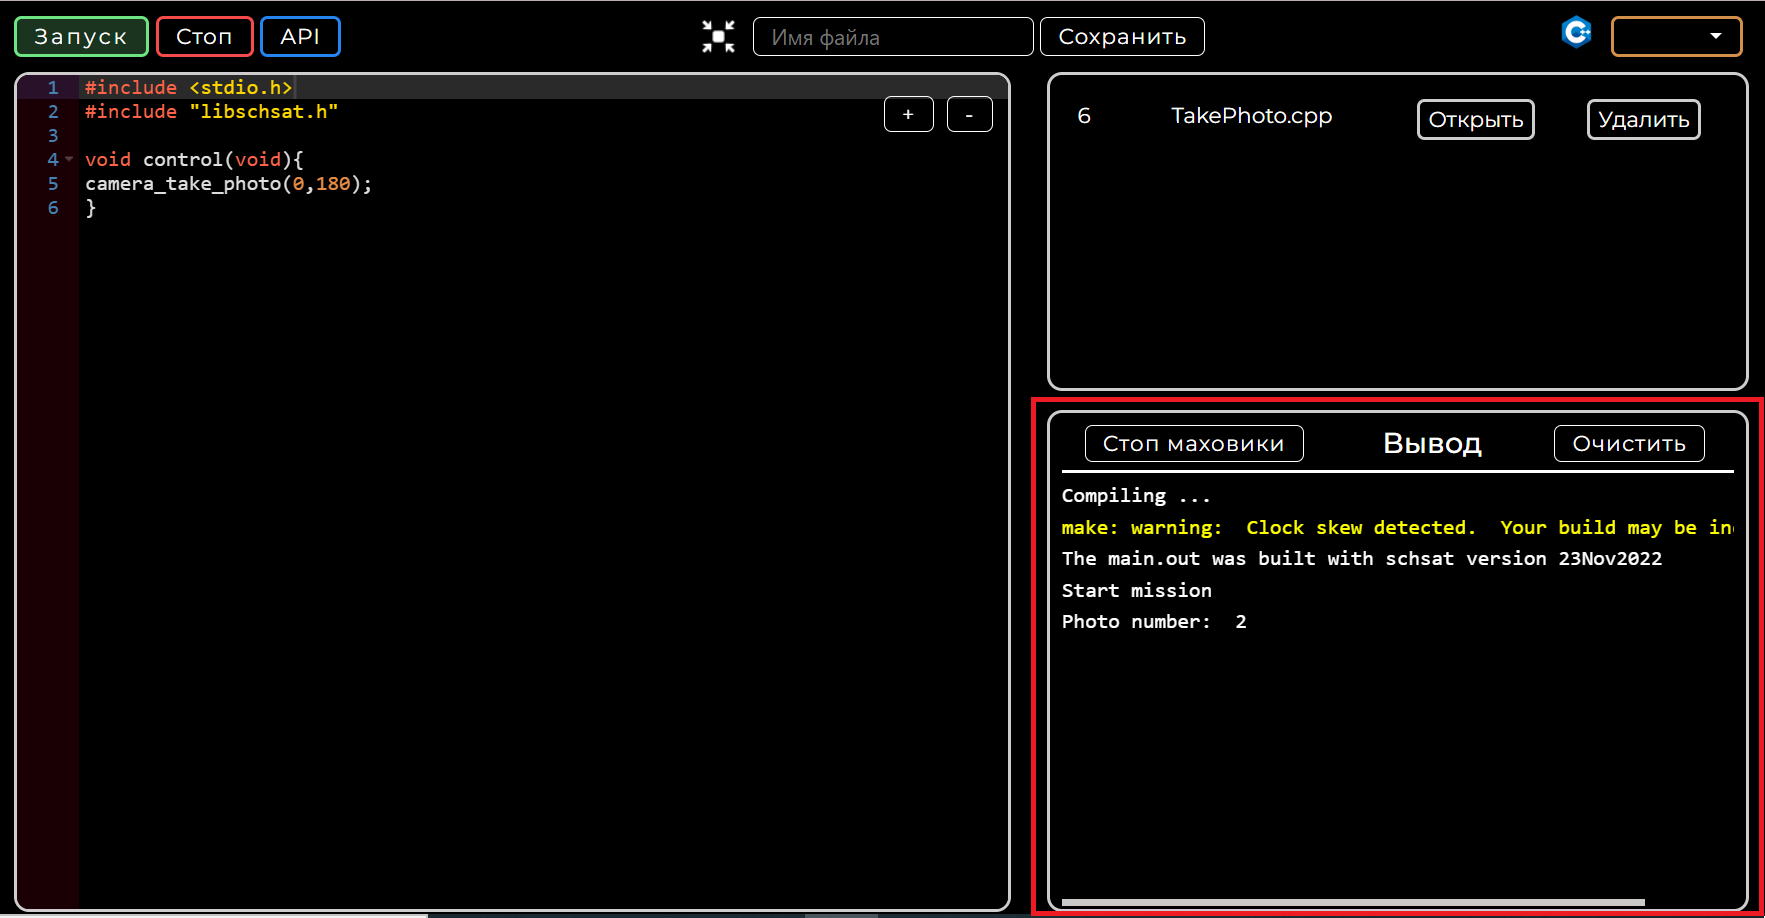
Picture 9. Output window
Scroll down the page and you will see a gallery of your photos taken on OrbiCraft 3D (Picture 10).
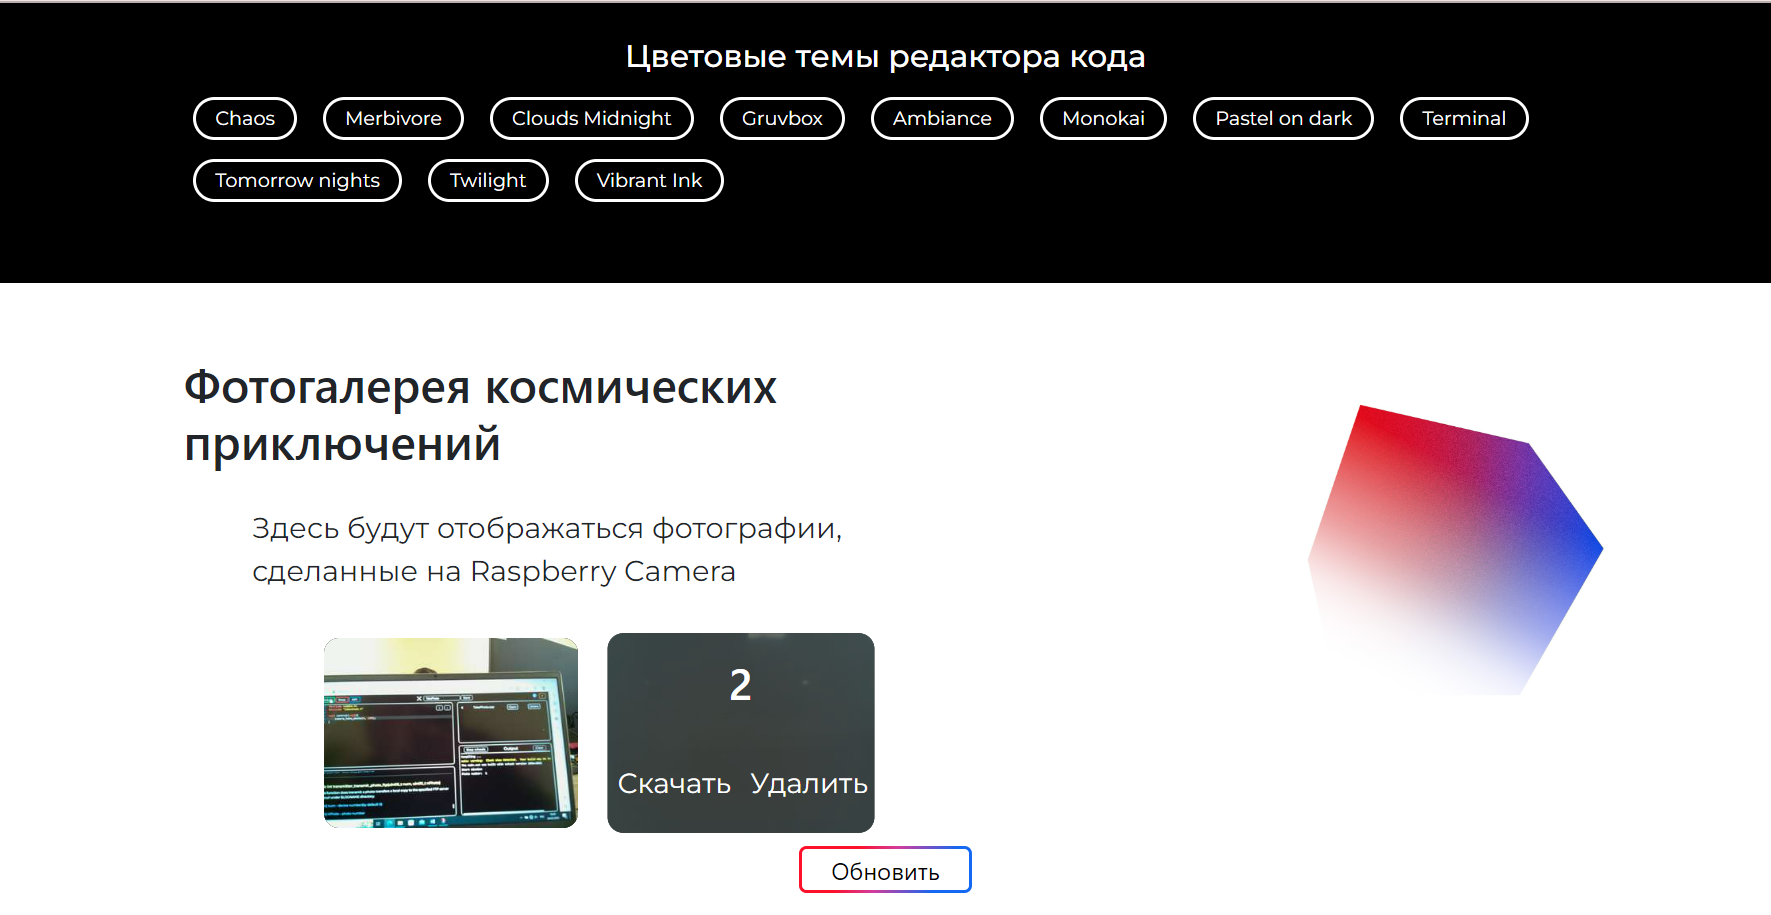
Picture 10. Photo Gallery
You can download or delete the received photo. To do this, hover the cursor over it and click the appropriate button.