Assembly of the RW module (control motor-reaction wheel)
The reaction wheel engine built into the RW module creates a torque that begins to rotate the satellite constructor around its axis in the opposite direction from rotation (Picture 1):
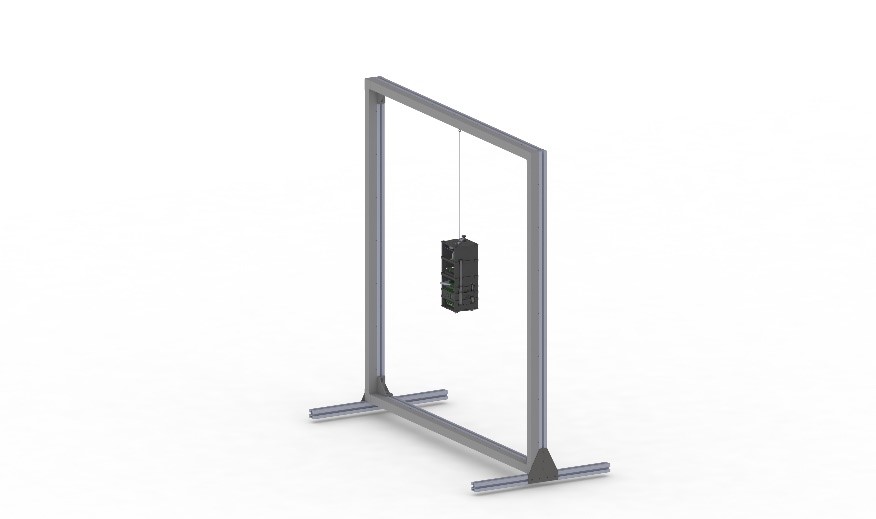
Picture 1. OrbiCraft 3D on suspension
Components required for assembly (Picture 2):
- all parts with the inscription RW (two bases, two walls, two transparent panels);
- board with reaction wheel;
- fasteners (screws with a cylindrical head M3x6 - 4 pcs.).
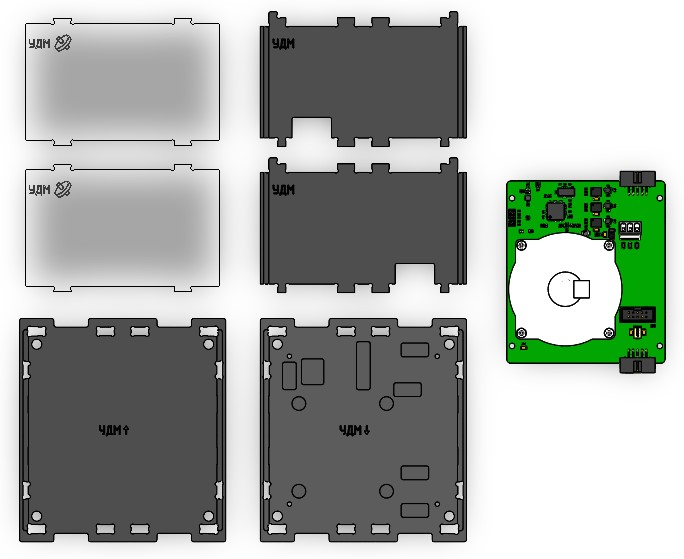
Picture 2. Components for module assembly
Assembly order
1) On the lower base (indicated: RW ↓) install the RW board by securing it with M3x6 screws with a cylindrical head (Picture 3):
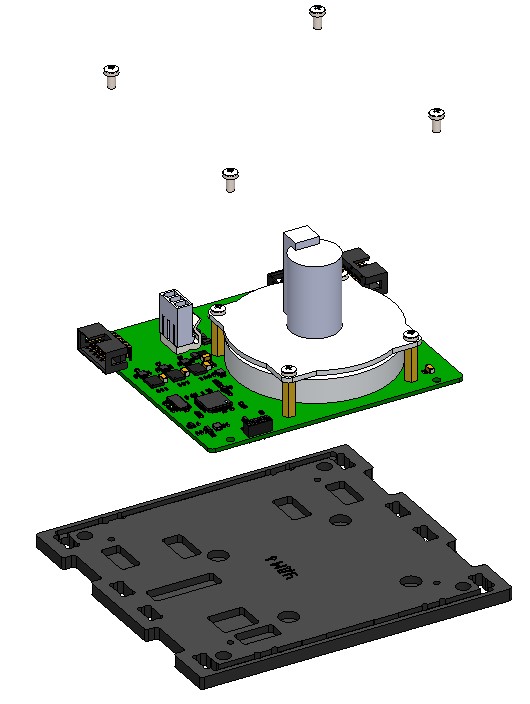
Picture 3. Installing the RW board
2) Install the side walls on the lower base. To do this, combine the projections of the side walls with the holes in the base and snap (Picture 4):
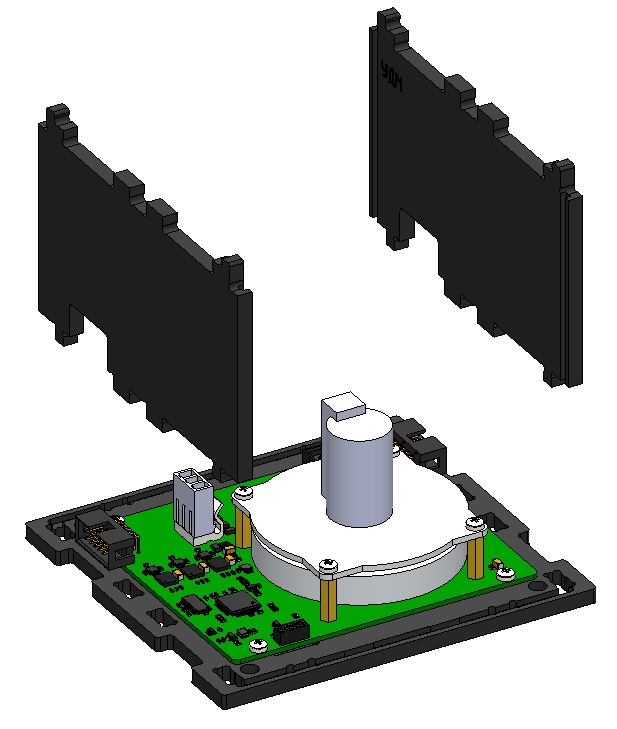
Picture 4. Installation of side walls
3) Fix two transparent panels on the bottom base. To do this, hold each panel along the guides in the walls to the base and snap (Picture 5):
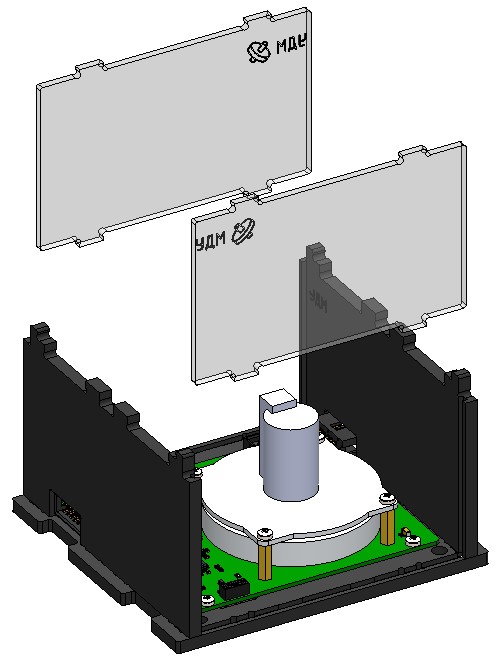
Picture 5. Installing two transparent panels
4) Attach the top cover to the assembled housing. To do this, combine the cutouts on the top cover, the protrusions of two walls and two panels, and snap them with effort. This is what the assembled RW module looks like (Picture 6):
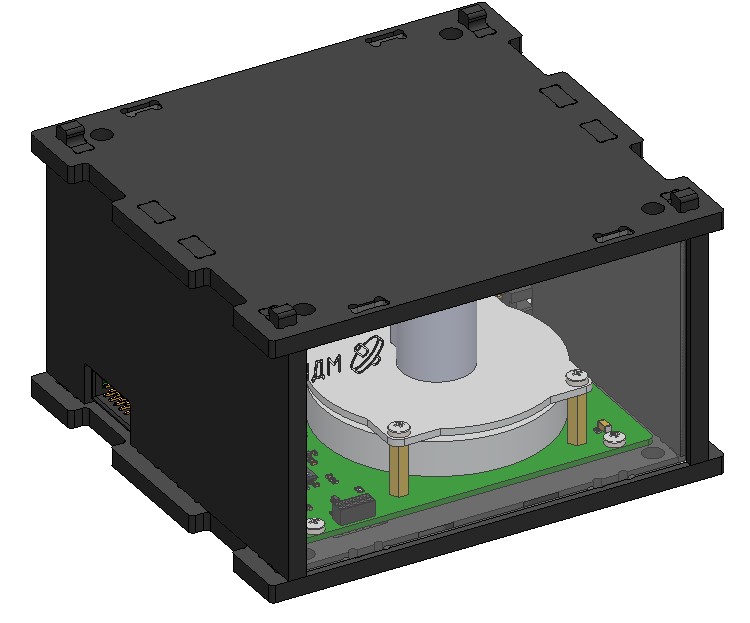
Picture 6. Assembled RW module